|
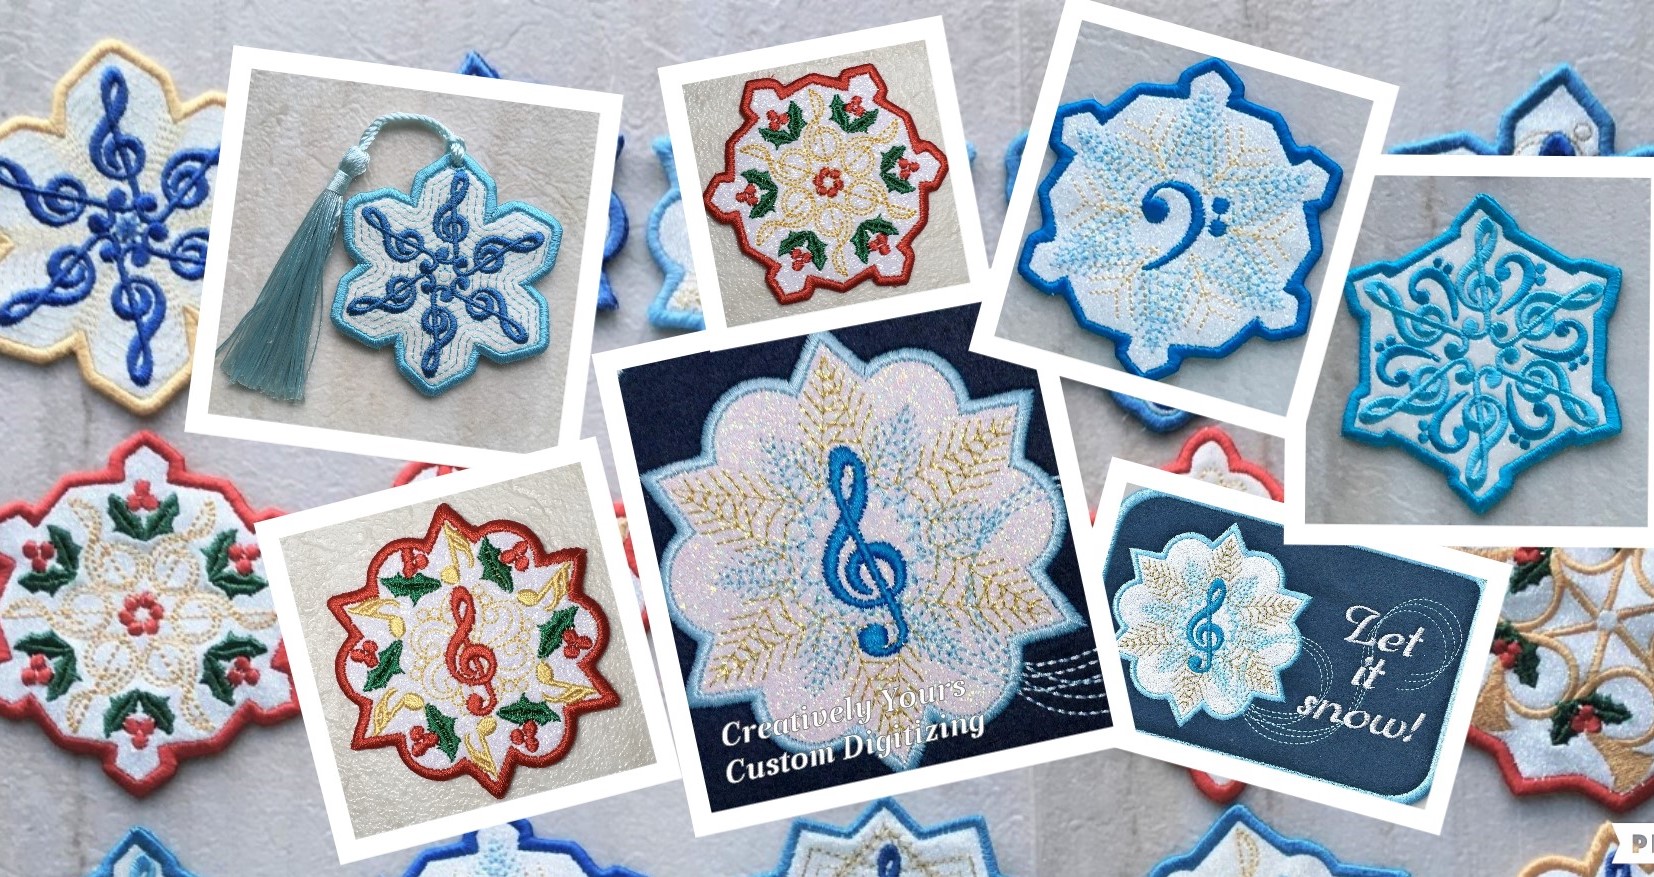
What an adventure this has been learning the ins and outs of glittery, sparkly heat transfer vinyl...so I want to pass on what I have learned to you. First of all, I learned so much from Bonnie at: “Sew Inspired by Bonnie” She has Tuesday Tips, YouTube videos and she sells Glitterflex Ultra for all of your needs. I asked her if I could send you her way for her videos, Glitterflex and the cutest designs, and she heartily agreed! Thank you, Bonnie! So what is Glitter HTV? And how do you use it?Glitter Heat transfer vinyl (known as HTV for the rest of this article) is a glittery fusible material that can be used in place of applique fabric to create very sparkly embroidery designs. It just catches the light and tosses it right back to you. There are a wide variety of colors to choose from. It contains real polyester glitter flakes contained in an adhesive you activate by ironing. It tears away and can be cut away easily with applique scissors. It adheres to cotton, uncoated polyester, fabric blends, wool and linen. (No nylon please!) Let’s talk about different applications first.SINGLE SIDED applications:If HTV is used as part of an applique on garments, or quilt blocks, I like to iron on a layer of Pellon SF 101 fusible interfacing to the back of the project where you will embroider. This keeps puckers from forming during embroidery. Use a layer of soft tearaway beneath your fabric. The Pellon is an interfacing, not a stabilizer. Then you can apply the HTV directly to your project following the stitch and color chart. Every Glitter HTV design I digitize will come with a stitch and color chart and a pdf file of instructions for you to read. Please take some time to do this and understand the process. It is easy... it is simple... it just takes a few minutes to understand the order of how to stitch out the design. DOUBLE SIDED IN-THE-HOOP...projects like a mug rug, ornament, bookmark, coaster, etc.- you will want to use washaway stabilizer. I use one layer of World Weidner’s washaway...Amazon has it. It looks like white semi-sheer fabric. You will also want to put a layer of crisp tearaway stabilizer on top of the washaway so the HTV has something to adhere to when you iron it down. It does not adhere well to washaway stabilizer. The tearaway is not hard to remove and you do it when you trim the backing fabric away. Application Instructions for Glitterflex...Please print out and make yourself familiar with the PDF file stitch and color chart that comes with each design before you read the following.Then proceed with these guidelines which explain each step. Turn your iron on to Cotton setting. NO STEAM 1.There may be some artistic stitches that come first so stitch those. Then sew the Placement outline on the fabric -shown as bright blue You can use any color thread you want, but I usually use the color of the first thread that will actually show...then I do not need to change threads. -Cut a piece of HTV slightly larger than your placement stitching. -Peel off the clear plastic protector sheet from the HTV and discard. -Lightly spray the back side of the HTV with a temporary adhesive and place on garment. Or…I now use 3M blue painter’s tape to hold it in place. It works much better than trying to hold it in place with your fingers while the tack down stitches and risking what happened to me. OUCH. Makes it kind of hard to type, too. 2. Stitch the Tack down -shown as bright green Again, you can use any color thread you want, but I usually use the color of the first thread that will actually show...then I do not need to change threads. 3.The next color shown is Lavender ..You do not need to stitch this but it is there to help you to remember to go iron the HTV firmly in place -right in the hoop. I use a travel iron as it fits my 4 inch hoop just fine and heat it just about as high as it will go. Cover the HTV with a Teflon pressing sheet or piece of quilting cotton and press with firm, even pressure for 10-12 seconds. This will fuse the HTV material into place. Do not use steam. Then gently tear away the excess HTV leaving the main piece of HTV inside the tack down line. This is called “weeding”. You can use small pointed scissors to get it started, and in any tight places, but most of it should pull away with gentle pressure. Use one finger to hold down the HTV while pulling away the excess HTV with the other hand. Save your scraps...in a Ziploc bag. 4. Place the hoop back into the embroidery machine and finish stitching the artistic parts of your design. Part of this step will usually include a satin run around the Glitterflex HTV ...although, if the Glitterflex is covered by a decorative stitch, a satin run is not needed. YOU ARE NOW FINISHED WITH YOUR SINGLE-SIDED APPLIQUE GLITTER HTV DESIGN. Enjoy! Children love Glitter… I do too! Lets continue with our journey by discussing... DOUBLE SIDED DESIGNS or IN THE HOOP...designs like mug rugs, ornaments, coasters and such. My double sided or IN THE HOOP designs follow the previous color stops and instructions and then continue on as follows: 5. The next color AFTER stitching the artistic parts of the design in Step 4 above, is a running stitch outline shown as turquoise blue that says: STOP-remove hoop. Spray back of design with adhesive like 505 and add backing fabric then stitch this outline. Please do so- and use the thread color for your final satin stitch outline. If this is a mug rug, or other padded item, you will also add a layer of batting or insulbright at this step. Adhere the batting against the design first, spray that with 505, then add the final backing fabric. Then stitch this outline. 6. Next is a bright pink STOP Trim away fabric before final satin outline. So you want to do just that on both sides of the design. You are also going to remove the tearaway stabilizer on top now, too.You do not have to stitch this outline… it just is there to tell you what to do. 7. BOBBIN ALERT! BOBBIN ALERT! Now is the time to put in a bobbin with the same thread as the top thread so that your project looks great on both sides. Now stitch your final satin outline. This covers the edges of the HTV and gives a finished look to the embroidery. 8. Remove your hoop, remove the design from the hoop and carefully trim away the washaway stabilizer, and remove what is left of it with just a bit of warm water on a Q-tip or washcloth. Dry your double sided design flat on a towel. I think you will love the results – an awesome design that sparkles in the sun! Questions that came up as I learned:-Why do I have to iron it on?It will pucker and stretch if you do not, it will not stand up to washing, and it does not lay flat... It puffs up. -Do I need to use Glitterflex HTV or are there others that work?There are others, but Glitterflex is safe for your machine, AND it comes in so many usable colors. Siser is another brand that works well but it does not have as many colors. Glitterflex HTV and Siser do not shed their glitter. Some other products do. -Can Glitterflex HTV garments be washed?I made up a test design of Glitterflex HTV and Siser HTV, both with and without final outline stitching and I have washed that sample in every type of laundry load including my husband’s jeans...hot water… dried in the dryer multiple times on high heat...and they both look like new. In other words, I tried to ruin it, but it looks great! I would treat it exactly how you treat the garment it is embroidered on or the fabric you use for a double sided design. -Do I have to iron Glitterflex HTV right in my embroidery hoop?That sounds kind of radical…No, you do not IF you want to create your own applique fabric with it first. Take a piece of preshrunk cotton fabric and iron a piece of Glitterflex down on it that is a bit bigger than the area you need to cover in your design. Cut this out of the cotton fabric and you have your own applique Glitterflex fabric to use like you would any other applique fabric. You will trim around it with scissors as it will no longer pull away by itself. This method works great for towels or any fabric that might be ribbed or have a texture or pile like velvet… I love doing this! -I cannot see where to tear away the Glitterflex HTV once I have stitched the tack-down stitch! Help!Oh yes, Glitterflex just loves to hide your stitching. If you use a contrasting color for your tack-down stitching it will show up much better. For example...for a tack-down on white Glitterflex, I use the thread that is the next color in the design that will show...then I do not need to change thread either. In fact, I usually use that color for both the placement and the tack-down. -My embroidery shows the Glitterflex HTV through the stitching just a bit...is there something I can do about this?Yes, it is because the Glitterflex has texture, and different brands of thread and your machine tension will give different results. If you find that happening, you can add a layer of aqua film over the Glitterflex when you do your tack down stitch. Aqua film will hold your stitches up off the HTV just a bit and you can easily tear it away and then rinse away any of the remaining tiny bits when the design is finished. You can also go over the one you already stitched with a Sharpie permanent marker of the same color. -What should I use for the back of the double sided ornaments?The Musical Snowflakes have points and they stitch out best if you use a soft fabric. I tried backing them with a vinyl that glitters, but it was too firm and poked through the stitches. So I tried hobby felt...it was OK. I tried flannel...also OK. I wanted to write a message on the back of some to use as gift tags so for those I used a layer of white, medium soft cutaway stabilizer...that worked out real well. I tried a layer of iridescent fabric over the cutaway because the iridescent was sheer, and that worked. But my most favorite fabric for the back is suede cloth...NOT expensive Ultra Suede unless you have it, but a suede cloth that I found at Fabulessfabric on Etsy. I wash and dry it first. I fuse a layer of Pellon SF 101 on the back of where I will embroider to keep it from stretching. I use it for the mug rugs, coasters, back of the ornaments, pillows and book covers. I want to try place mats and tote bags with it next. It is just not that expensive and you can add an elegant look and feel to your designs. By the way, I used it for my wash and dry experiment with both the Glitterflex HTV and Siser HTV and it washes and dries just fine. Plus you get a huge amount for a very low price. It comes in many colors. -How do I hang my ornaments?I take an awl or an ice pick and make a small hole right through the GlitterflexHTV at the top of the design. Then I run ribbon through the hole...use a bodkin if you have one. Tie it first to the ornament a nd then join the ribbon ends together and tie at the ends of the ribbon to make a hanging loop...I cut my ribbon 14 to 18 inches long. This works for gift tags also. -How do I use up those scraps you told me to save in a Ziploc bag?GlitterflexHTV is awesome because you can iron one layer on top of another, so your imagination is the limit...you can create a kaleidoscope of effects by using your scraps…tiny hearts, little letters… I think it just depends upon how patient you are! But you can get some really interesting effects. Check out Pinterest on using vinyl scraps. ConclusionSo there you have it… if you have any questions, please email me at: and I will do all I can to help you out. |